
Latest News
The Grid 2006 Conference, which features keynote talks, panel, peer reviewed papers presentations, and posters, serves as both the premier conference presenting best Grid research and a forum where new concepts can be introduced and explored. This year the Conference will be co-located with the 2006 Cluster conference.
... Read moreTry the GRID
Become a User
FAQ
Contact EGEE
If you have questions about the Website contact: .
Information Sheets
EGEE sites
A Tour of the GENIUS Portal page 2
Running a Job and Retrieving its Output
The next stage is to look at how to run a job. An important part of running a job is gathering its output since almost all jobs run on the grid are about analysing some data or running a computation (or a mixture of both) and then getting the results back. The amount of output returned from a job varies greatly since a job can save its output to the shared space of the VO on storage elements or return all of its output to the user (or again a mixture of both). In almost all cases a file recording any error messages whilst running the program on the remote worker node will be set back to the user (note that these errors are not the same as job failure messages, a programming error is very different to an error in the job submission file). We may therefore view a running job as having three stages; firstly submit the job, then monitor the job and finally retrieve the output.
Submit the Job
In the sidebar click Job Services, followed by Single Job and then finally Job Submission. You should now be presented with the dialog below:
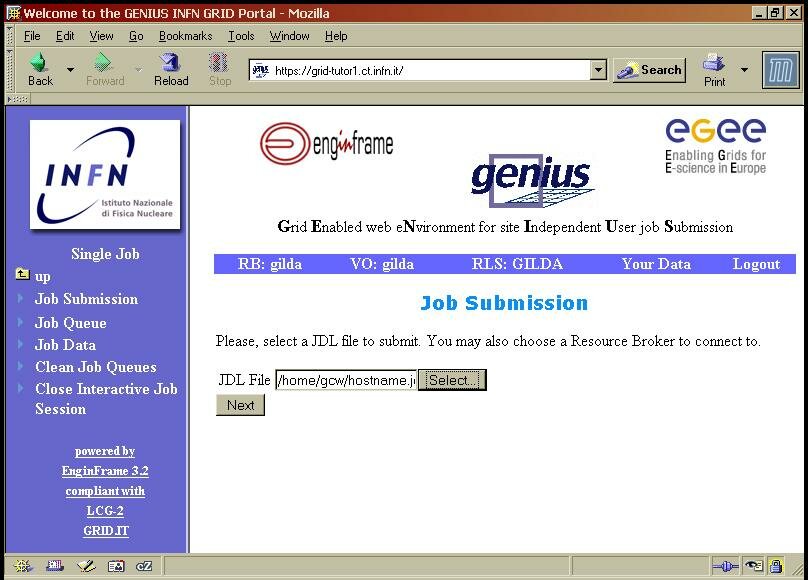
In the EGEE middleware job requirements and details are described in a text file using the Job Description Language. By convention these files are given the extension '.jdl'. The subsequent sections of this practical will be centred around this language. For now however we are only interested in how to submit a job so we will not look into the details of the job we will submit. Click Select and you will be presented with a file selection dialog as shown below:
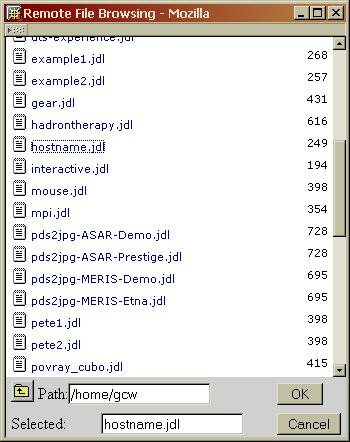
Select the file "hostname.jdl" and then click OK. This jdl file is very basic and will just query the hostname of the worker node the job actually runs on. The full path to "hostname.jdl" should now appear in the Job Submission window. Click Next to continue.
This next window allows you to select the Computing Element (CE) your job will run on. A CE is the front end to a group of worker nodes that actually run the various jobs. Typically a CE will have three job queues you can submit your job to. A short queue for jobs that are expected to run in a short amount of time, a long queue for jobs that will take a longer time and then an infinite queue for jobs that are expected to be extremely long running. One of the reasons for having these multiple queues is so that short jobs do not have to wait on long jobs before they can run. For now however we will just let the Resource Broker (RB) choose for us, as shown below:

We can now finally submit the job by clicking Submit Job. If the job successfully submitted then your browser window should look like this:
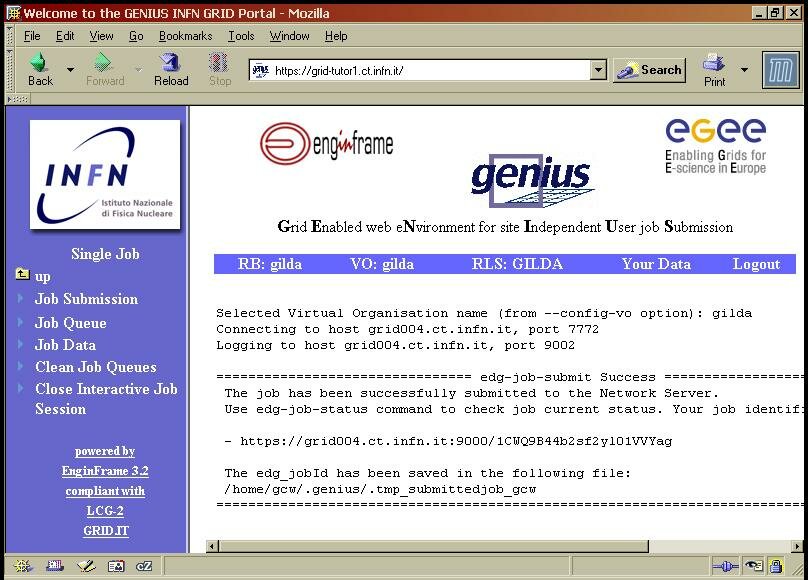
This is actually the output from the command line command that submitted the job (GENIUS just acts as a wrapper of these functionalities). The important point to note here is that https://grid004.ct.infn.it:9000/1CWQ9B44b2sf2y101VVYag is NOT a url. In fact this is the unique job identifier that has been created out of the url for the RB the job was submitted to plus a series of random characters. We have now successfully submitted our job.
Monitor the Job
To monitor our job in the side bar select Job Queue. The following dialog is then shown:
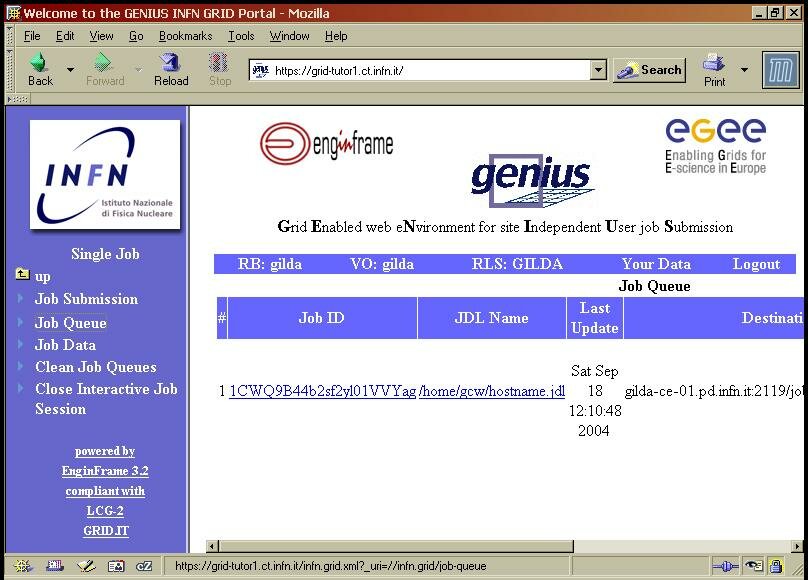
Note: this automatically updates on a regular interval, should you however wish to force the screen to reload do NOT reload the whole window by clicking on the refresh button, this will take you back to the grid-tutor home page. To force the page to refresh click again on the Job Queue link in the sidebar. From here we can obtain information about the job we just submitted. If you firstly click on the url for Job ID you can see the log of how your job is progressing as shown below:

This is useful for tracking what route your job is taking to reach the worker node and when it reached each point. Click the "Back" browser button to return to the previous dialog. Clicking on the link of the jdl file just shows the contents of the jdl file, which is not of interest here. What is of interest is the final column which gives the job status. There are several values that can appear in this column as explained in the following table:
| Flag | Meaning |
| Submitted | The job has been submitted and a log of this has been made by the Logging and Bookkeeping service. |
| Wait | The RB is attempting to find available CE's that support the jobs requirements. |
| Ready | The RB is sending the job to the selected CE. |
| Scheduled | The job has been scheduled by the queue manager on the CE. |
| Running | The job is currently running on a WN behind your select CE queue. |
| Done | The job terminated without grid errors. |
| Cleared | The job output has been retrieved. |
| Abort | The job was aborted by the middleware. |
| Cancelled | The job was cancelled by the user. |
Once your job shows the status as "Done" you can move on to retrieving the jobs output.
Retrieve the output
There should now be a button on the end of the line describing your job that says Get Output. Click this button. You are now presented with the below dialog:
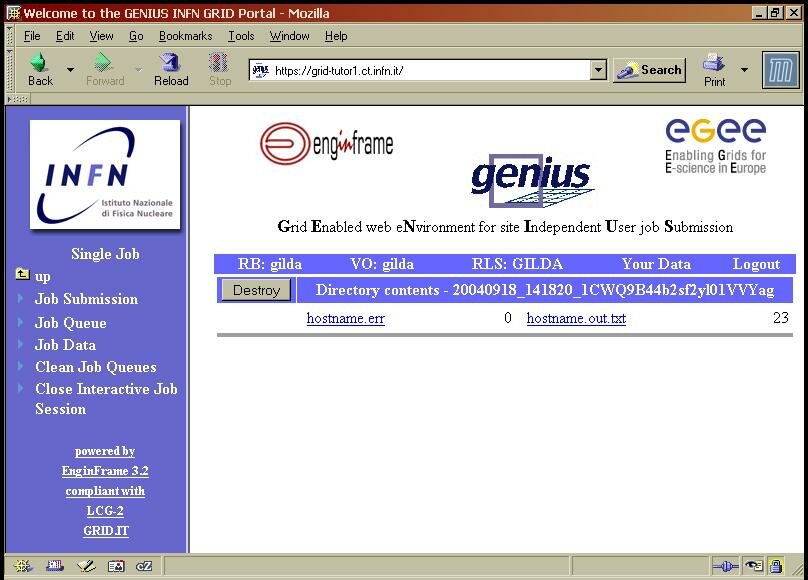
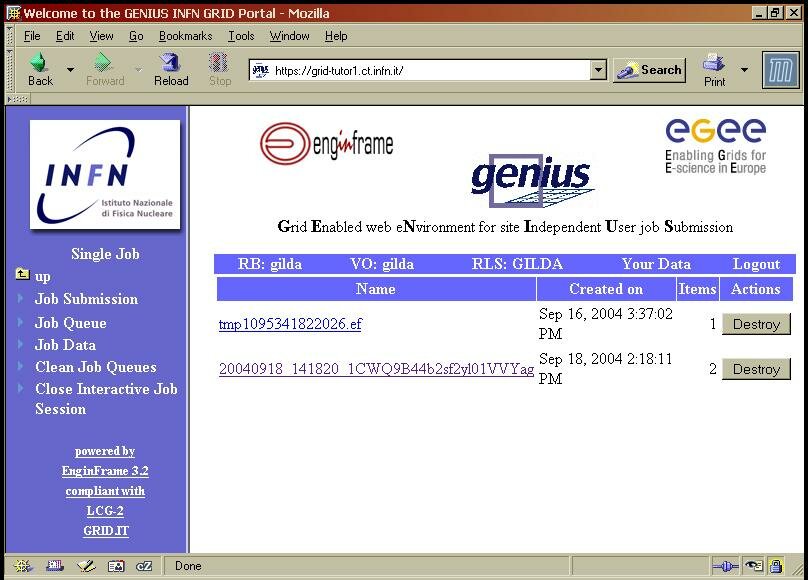
This dialog can also be reached after retrieving the jobs data by going to Job Data in the sidebar and then selected the output of your job by using its Job ID as shown below:
Click on either of the files that have been retrieved from your job. If the program run by the job was successful the file "hostname.err" should be empty. The file "hostname.out" should contain the name of the WN the job ran on.
Clean the GENIUS job queues
The final stage to running the job is to clean up the data. Since the job is only a test job there is no need to keep the output from the job. This stage should be run after each example in the subsequent sections. In the sidebar click Clean Job Queues. You are now presented with this dialog:
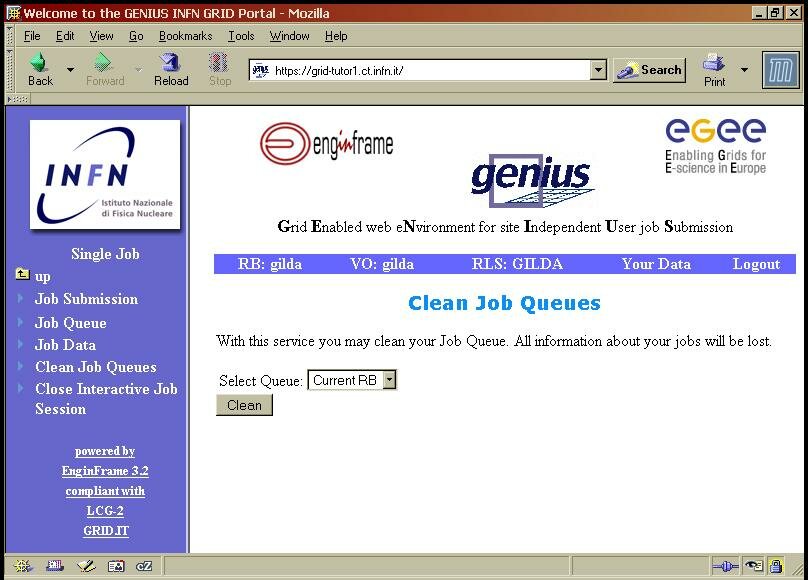
Leave the value of Select Queue on "Current RB" and then click Clean. If you now go to Job Data you should find that there is no data available.
| Previous Section | Next Section |